NOT-BORING WEDDING photography for fun-loving adventure seekers
WELCOME TO THE KICKASSERY

Planning a wedding can be daunting. Why not hire a seasoned professional to take care of all the details for you? View my list of BC’s best wedding planners here.

Planning a wedding on a budget is stressful, which is why I’m here to give you the best tips on planning your frugal wedding.

If you are asking this, you are already a thoughtful human. The short version: tipping a wedding photographer is usually optional, but it can be a meaningful thank you when the experience was excellent. This guide gives you a no-stress way to decide if you should tip, who should get it, and how much makes […]

You want great photos and a budget that makes sense. This guide explains what “mobile wedding photographer” can mean, what packages usually include, and how to estimate a realistic price range before you request quotes. Get in touchView services Typical spend (US) Quick range $2,649 to $3,574 is a common spend range, with an average […]

Let’s go full color today – Technicolor! Yes, I mean the most vibrant wedding destination you will ever see in your life! Let’s talk about the magnificent town of Sayulita. Hi, I’m Pala from Pala’s Photos & Kickassery, but you probably already know that. I am a destination wedding photographer who works with couples that are professional […]
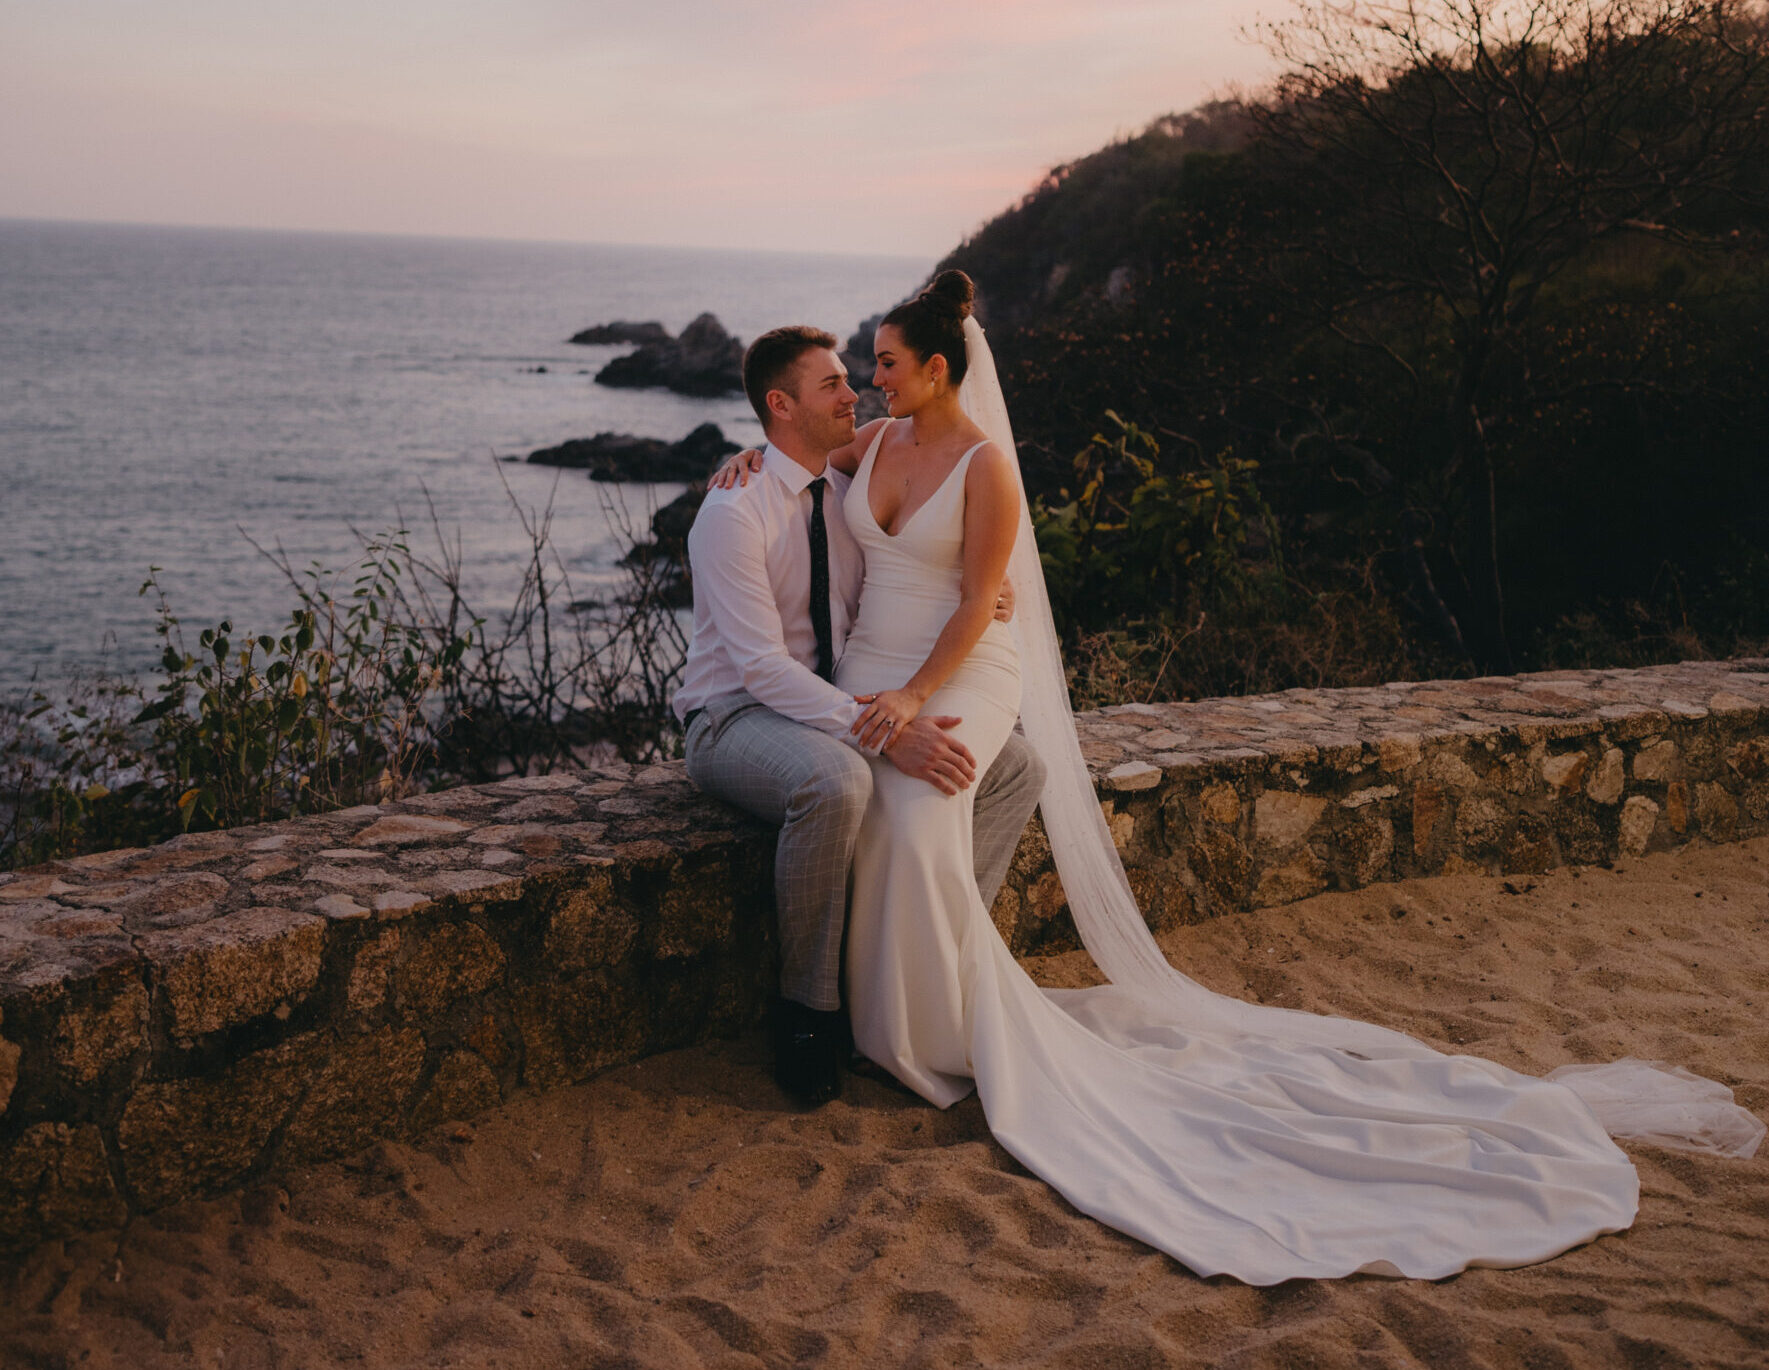
Let’s talk about Mexico wedding destinations Hualtico, to be more specific. Hi, I’m Pala from Pala’s Photos & Kickassery. I shoot weddings all over Mexico. If you are here, then you are probably thinking about having a destination wedding in Mexico. I am so glad! Because, trust me, Mexico almost seems like a place where […]

If you’re dreaming of saying your “I do’s” somewhere warm, vibrant, and full of character, Merida should be at the top of your list. Located in the heart of the Yucatan Peninsula, this cultural gem blends colonial architecture, lush haciendas, rich history, and a lively local atmosphere. As a result, Merida offers a wedding experience […]

Wedding plans? A tropical destination? I think it is time to explore the spectacular Los Cabos. Hi, I’m Pala, and welcome to Pala’s Photos & Kickassery. I am your ultimate destination wedding photographer (especially when it comes to Mexico). I work with couples who are laid back, want things to go smoothly, and are kinda chill […]

There’s a perfect destination wedding venue for everyone – and for couples who want both relaxation and impact, Puerto Escondido might just be the dream location. Located along Oaxaca’s Pacific coast, Puerto Escondido is a surfers’ paradise. It offers an unforgettable balance of chill beach energy and breathtaking ocean views. Because of this, Puerto Escondido […]